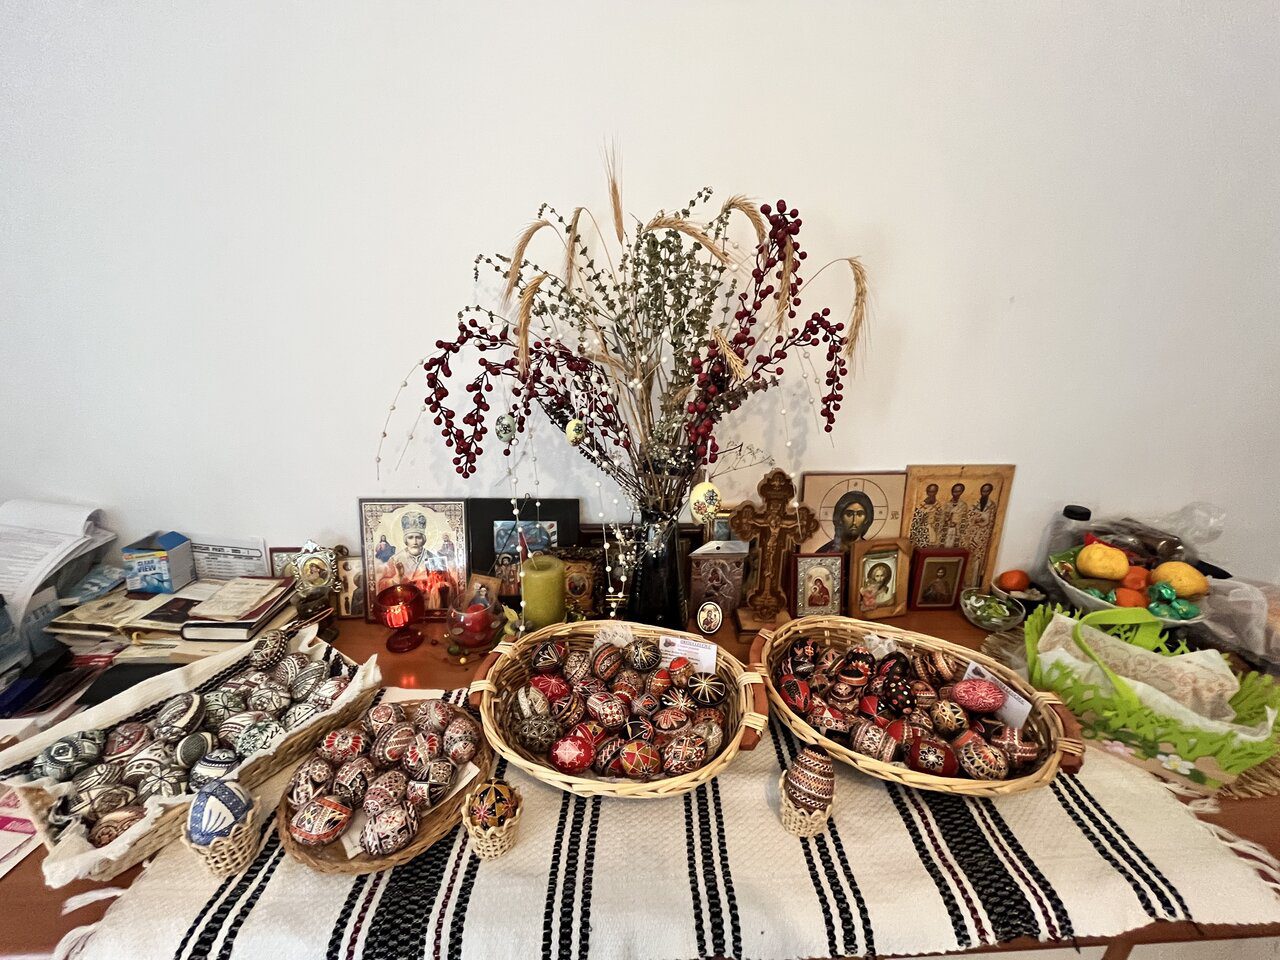
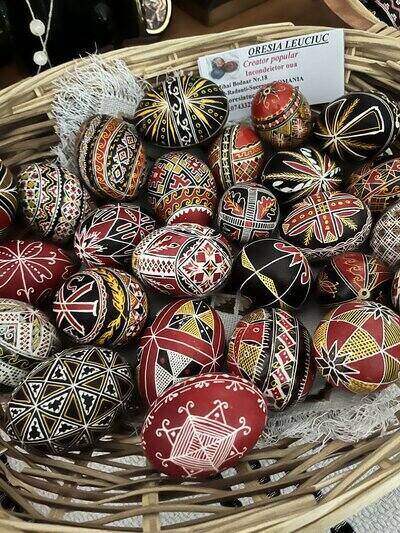
I first met Leuciuc Oresia at a small handcrafts festival in Bucharest, standing behind a table of impossibly intricate decorated eggs. Each one looked like it belonged in a museum – and as I’d learn later, many of her pieces actually do end up there.
When she invited me to visit her workshop in Rădăuți, Bucovina, I knew I had to document this traditional craft that transforms simple eggs into works of art.
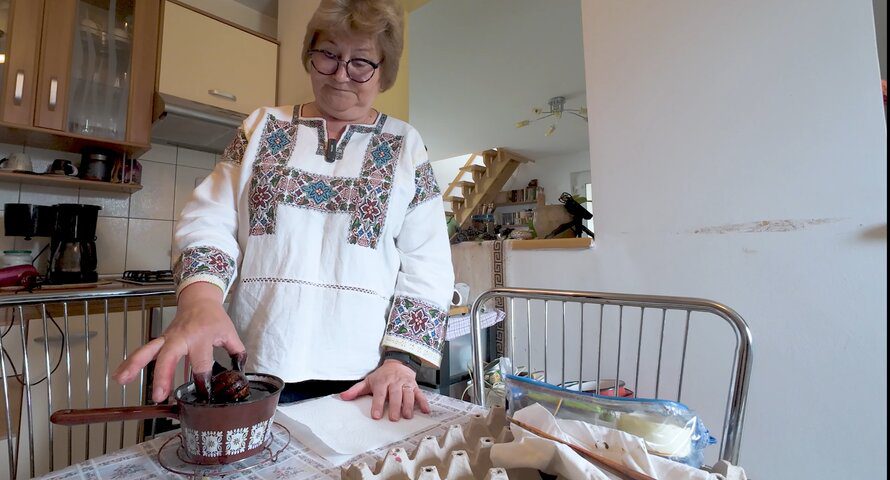
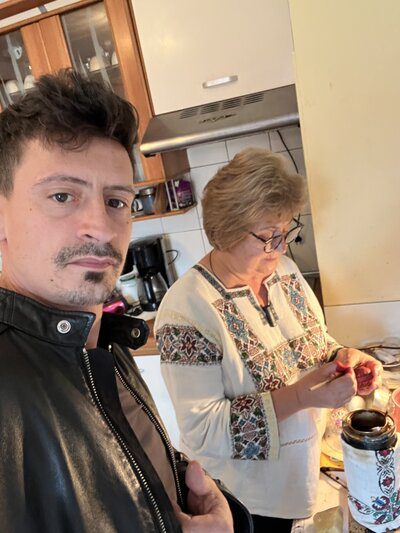
Months later, I found myself in her kitchen – yes, her kitchen – where she creates these masterpieces while preparing to open a small museum in another room of her home. This is where the ancient Romanian art of încondeierea ouălor lives on, one careful line of wax at a time.
The Artist Behind the Eggs

Ms. Oresia learned this craft from her grandmother, pursuing it despite her parents’ practical concerns about making a career from art.
Today, she works with museums across Romania and teaches children who’ve gone on to win national awards.
Her work is so distinctive that other master artisans can recognize her eggs immediately – apparently, the way each artist draws their lines is as unique as a signature.
She recently created a special egg for the Israeli Embassy, combining traditional Bucovina motifs with the Star of David and inscriptions in both Hebrew and Romanian.
“I’ve also made custom designs like a dragon for a German doctor,” she tells me, showing how this ancient craft adapts to modern requests while maintaining its traditional roots.
Understanding the Process: Why Five Days for One Egg
Before visiting Ms. Oresia, I’ll admit something: whenever I saw decorated eggs in museums or markets, I thought they were overpriced.
That changed completely when I watched the process. Let me walk you through what actually goes into creating one of these eggs – and why it takes up to five days to complete.

Stage 1: Choosing and Preparing the Egg
“Not all eggs are suitable,” Ms. Oresia explains, and immediately demonstrates by accidentally cracking one with a shell too thin for decoration. Chicken eggs, surprisingly, aren’t ideal – they’re too small, porous, and yellowish.
Duck eggs have smoother shells, making them perfect for this work. For special pieces, she uses goose or even ostrich eggs.
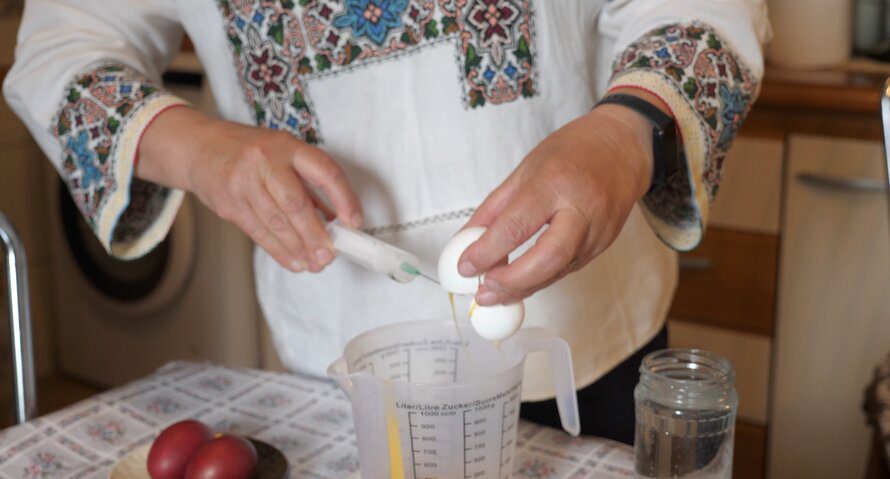
The preparation alone is meticulous. First, the egg must be degreased and washed – once the coloring process begins, no detergent can touch it.
She carefully drills a hole and uses a syringe to extract the contents, pushing air in rather than pulling out to avoid pressure that could crack the shell.
The technique matters: break the yolk first so it can pass through the small hole. The egg is then washed inside with water and must be completely dry before any decoration begins – wet eggs won’t hold wax properly.
Stage 2: The First Wax Drawing
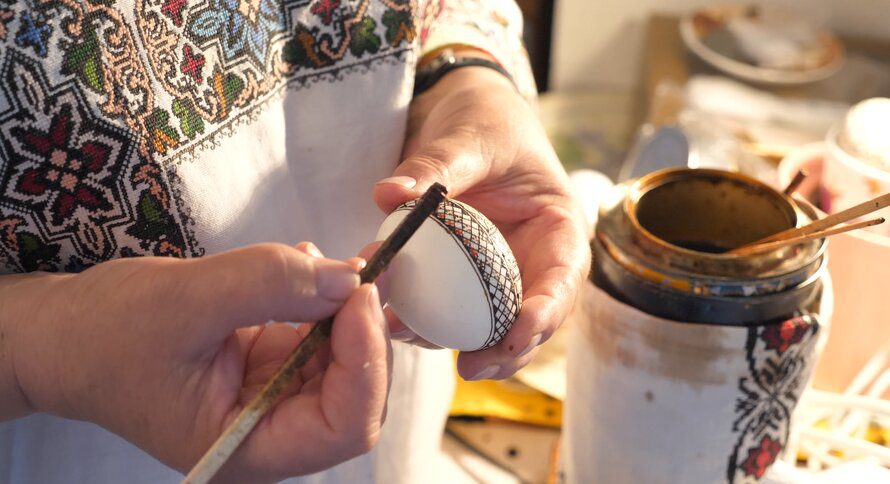
The magic happens with a tool called a chișiță – essentially a tiny funnel made from a needle attached to a wooden handle, wrapped with thread for stability. The wax must be kept at exactly the right temperature, around 65 degrees Celsius. Too cold and it won’t spread; too hot and it drips uncontrollably.
Here’s the key to the entire process: the wax protects colors. Whatever the wax covers stays that color through all subsequent dyeing steps. It’s like creating a painting in reverse – you’re preserving rather than applying.
Ms. Oresia shows me an egg featuring the symbolic cross, the infinite path (or labyrinth), and wheat stalks. Every element has meaning. The cross or another spiritual symbol appears on every traditional egg.
Drawing straight lines on a curved surface requires incredible skill – she teaches children to practice designs on paper before attempting them on eggs. When designing, all lines are drawn from the center outward, never inward – “just as we move forward in life, not backward,” she explains. A double line represents the line of life – you left and returned.
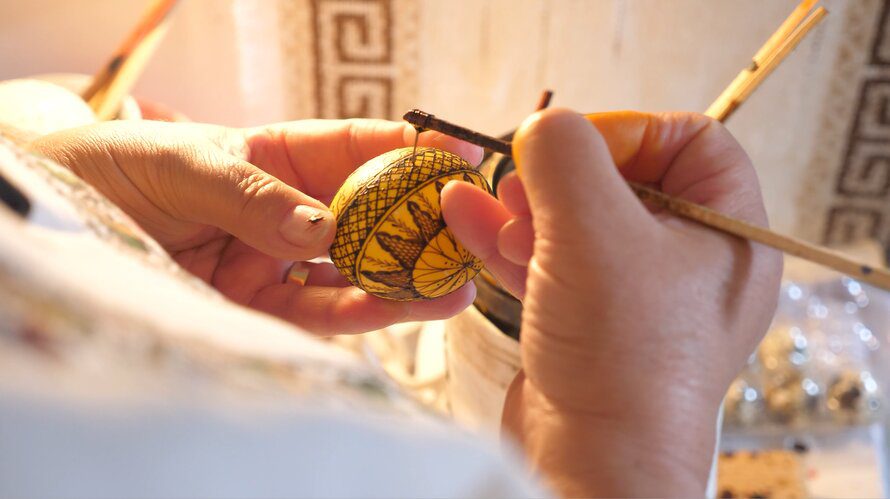
Stage 3: The Yellow Layer
The dyeing follows a strict color hierarchy, always moving from light to dark: white, yellow, red, then black or brown. You cannot deviate from this order. Before dyeing, the drilled hole must be sealed with wax to prevent dye from entering the egg’s interior.
The yellow dye bath takes 10-15 minutes, with the dye slightly warmed – cold dye won’t adhere properly.
Ms. Oresia uses tea-based dyes and wool aniline dyes traditionally used for carpets, though these are becoming harder to find. In the past, natural colors came from plants – chamomile and marigolds for yellow, for instance. About 2 liters of dye can color 100-120 eggs before losing potency.
After the yellow bath, the egg needs 24 hours to dry and let the color stabilize. This waiting time is crucial – rush it, and the colors won’t be vivid. You can’t apply wax to a wet egg.
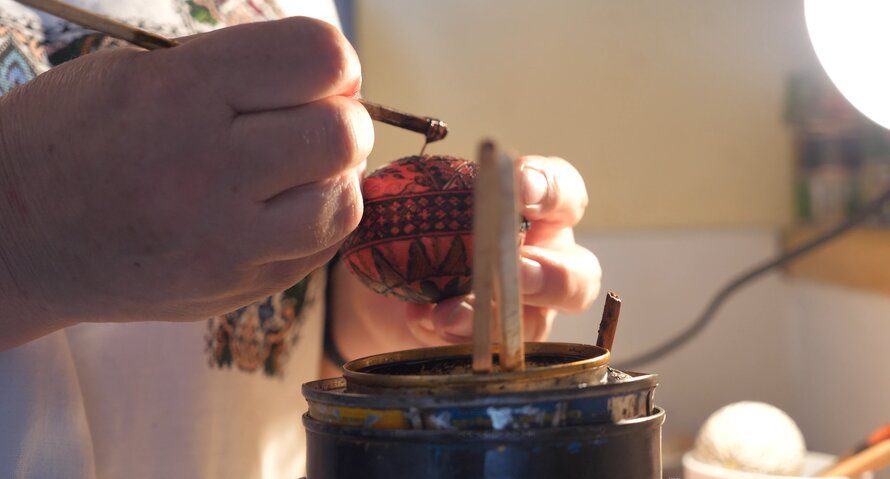
Stage 4: The Red Layer
Once dry, Ms. Oresia applies wax over any areas that should remain yellow. She’s creating wheat stalks, which are naturally yellow, by protecting those areas with wax. For larger areas, she uses the opposite end of the drawing pen – the needle would take too long.
“This requires dexterity and isn’t recommended for beginners,” she warns. Mistakes can’t be undone – once wax touches the egg, it’s permanent. Errors are fixed by incorporating them into the design with additional lines.
The red dye is the most challenging color to achieve properly. Success depends on having a perfect yellow base. Ms. Oresia uses a darker red, almost burgundy, created by combining several colors. She tests it on broken eggshells first. If the dye isn’t adhering well in some spots, it means the egg wasn’t dried properly between stages.
Each color carries symbolic meaning: yellow represents light and warmth, red symbolizes the blood of Jesus, black or brown represents earth and the universe, green (popular in Vatra Dornei) represents flora and fauna, and blue symbolizes the clear sky.
After the red bath, another 24-hour drying period is required. The entire process is building up, layer by layer, color by color.
Stage 5: The Black Layer
After the red has dried completely, areas meant to stay red are covered with wax. Ms. Oresia carefully fills in the spaces, ensuring every spot that should remain red is protected. She checks the egg from all angles – missing even a small area will show in the final product.
The final dye bath is black, completing the color journey. The quality of eggs matters even here – eggs from incubators that weren’t turned regularly lose their shine and won’t dye evenly.
Fresh eggs take color best. She sources eggs seasonally – ducks and geese only lay for about 3 months a year, so she buys them during that period, empties them, and prepares them for the following year’s work.
Stage 6: The Reveal
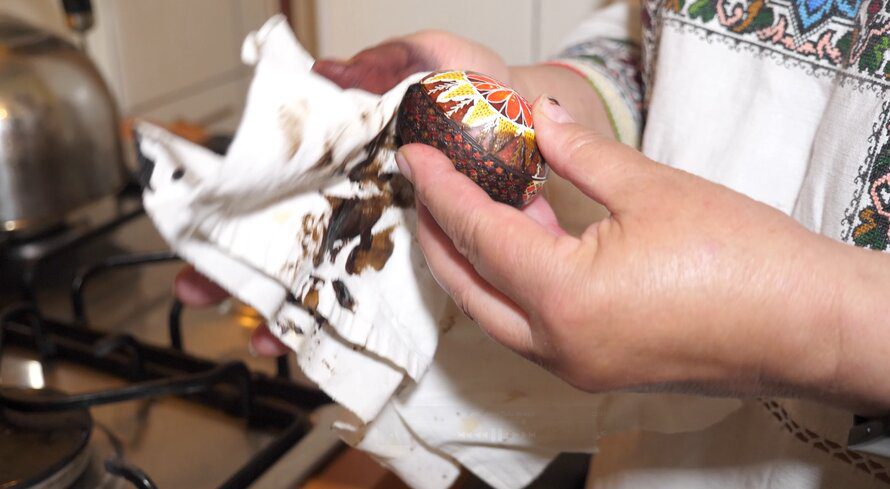
The final phase is removing the wax near a heat source. Ms. Oresia uses a gas stove rather than a candle, gently heating the wax and wiping it away with cotton cloth. First, she unclogs the hole to prevent pressure buildup, then carefully removes all wax until the true colors are revealed.
“A good egg maintains the white line, has many thin lines, is richly decorated without colors interfering with each other, and has a clear design,” she explains, comparing a properly made egg with our demonstration piece that was rushed for filming. The difference in color vibrancy is striking.
Why Each Egg Is Worth Its Price
Watching this process completely changed my perspective on the value of these eggs. Each design requires about 3 hours of active work, plus 24 hours of waiting between each color application.
For eggs with 4-5 colors, the entire process takes up to five days.
When Ms. Oresia tells me she can work continuously for 4-6 hours before her hand and eyes tire, especially with large ostrich eggs, I understand why each piece commands its price.
The traditional wax pen tools, crafted by local men, come in different sizes for various line thicknesses. Each tool maker has their own style, creating finer or thicker tools.
She keeps special ones for teaching children, who tend to damage them quickly while learning.
Egg Decoration Craft is not in Danger…Yet
When I ask if this tradition is endangered, Ms. Oresia seems unconcerned. “There are enough practitioners,” she says, “and as long as faith is preserved, so will the tradition.”
Her own children know the craft and can recognize their mother’s work in museums, though they don’t practice it professionally.
“It’s relaxing,” she tells me when asked what she enjoys most about egg decoration. “It takes me away from daily worries. In the quiet, I find concentration and relaxation; it’s a pleasure to work this way.”
Different regions have their distinct styles – in Maramureș, eggs are typically monochrome, using only white and red. Master artisans develop such unique styles that they can identify each other’s work at a glance.
In Rădăuți, Ms. Oresia’s hometown, only two master artisans remain from the original five, plus one woman who creates eggs decorated with beads.
Experience This Craft Yourself
After spending a day with Ms. Oresia, watching her transform a simple egg into a museum-worthy piece, I left with a deep appreciation for this traditional Romanian craft. The precision, patience, and cultural knowledge embedded in each egg makes them far more than decorative objects – they’re tangible connections to centuries of Romanian tradition.
If you’re interested in experiencing this incredible craft firsthand, meeting artisans like Ms. Oresia, or learning about other traditional Romanian handcrafts, I can help arrange a personalized visit that fits your interests and schedule.